Headlines
Here Are the “Best of Show” Award Winners at NAB 2024
Celebrating companies excelling in media technology
Update your browser to view this website correctly. Update my browser now
Celebrating companies excelling in media technology
Would your station earn a green rating — or a red flag?

Broadcasters, FEMA and NWS all express reservations about how it would work
ENCO’s Frommert says AI development has accelerated quickly
Company is using Program Director OS on five HD2 channels as well as 700 streamed stations
Pair of media surveys from Futuri find general acceptance of AI tech among listeners
VITAC, ENCO partnership expands caption encoding, delivery options
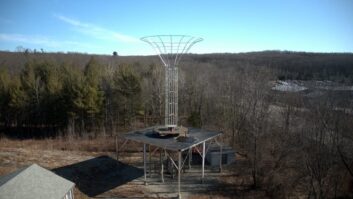
Developer believes antenna’s smaller footprint can help reduce property needed for AM operators

Up-to-date guidance from NAB, SBE offered as member benefit
Stations buying a GV2 can test HD for up to six months

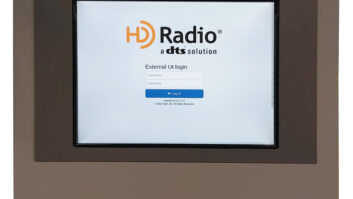
Demonstrations of "EAS At The Edge" are being showcased at the NAB Show
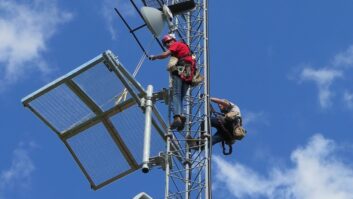
NATE details the latest safety standards affecting broadcast and wireless telecommunications industries

Also, give your studio countertop a lift — hydraulically
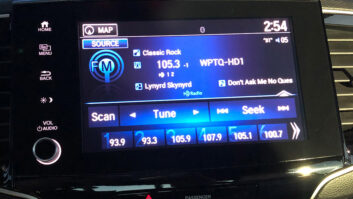
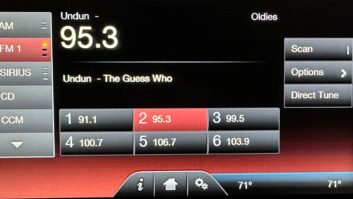
Learn how the 100 top-selling cars in the U.S. display your radio metadata —...
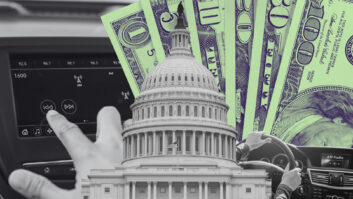
"Let’s be clear: Opposition to the AM For Every Vehicle Act isn’t about keeping...

This year’s SBE Ennes Workshop includes practical advice for managing up

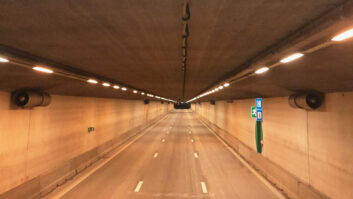
Project will ensure drivers can be reached with emergency alerts
An efficient solution to send full composite to sites without excessive bandwidth consumption
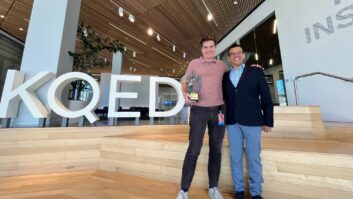
Station was chosen as the fifth annual recipient

NHK World brings NPR’s performance concept to Japan

The high-density multi-channel codec will be exhibited in Las Vegas
Its powerful new capabilities remain largely unexplored

Artificial intelligence tools are hosting air shifts, reporting the weather, creating outlines for sales...

Sixty-one pages of fabulous new rooms and facilities

Ebook explores the most important trends in broadcast codec technology

The design and feature trends dominating the manufacturing landscape