There have been plenty of articles written about small single-board computers including in the RW family of magazines (most recently, https://tinyurl.com/rw-pi-2). Getting started with the Pi or Arduino is easy because there is so much ready-to-run software available.
This article begins a series focusing on simple, practical, cost-effective and reliable uses of the Raspberry Pi and Arduino in the broadcast environment.
This first article will serve as a brief introduction for those who haven’t started “Making Pi” yet. Here’s your first warning: The people who make these little systems love bad puns and plays on the device names.
HATS ON!
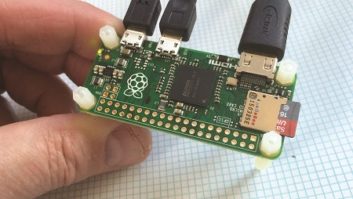
When the Raspberry Pi foundation released their first system-on-a-chip (SOC) in 2012, they had no idea how overwhelming the response would be. The credit-card-sized computer once meant to be an easy entry point for British students to get into programming and computer science has burgeoned into a whole community of add-on boards (“hats”), screens and extras that people all around the world are using for all kinds of things.
Raspberry Pi computers have ARM processors on them and most Linux distributions that support those processors will run on them. There are also Windows 10 IOT (Internet of Things) embedded platforms that will run on them as well.
The most popular operating system for it by far is Raspbian, which is a derivative of Debian Linux. The Raspberry Pi foundation also has an OS image called NOOBS, which will allow you to install a number of different options on it as well.
Getting started is as easy as buying a Pi, a case and its accompanying necessities, which you might already own, namely a microSD card, a 5V-2A wall-wart-type supply with a micro USB connection, an HDMI cable and a USB keyboard and mouse.
Several starter kits are available that include cases, power supplies and NOOBS already installed on a microSD card. If you already have access to a microSD card, it is simple enough to go to www.raspberrypi.org and download any of the OS images that they have there. There are also details on how to get the image onto the card.
FEEL THE BURN
My particular preference is to use a program called Etcher, which will take any OS image and burn it to flash memory (including USB thumb drives). We’ll have an article about my Linux distribution of choice (DietPi) for Raspberry Pi in a future article.
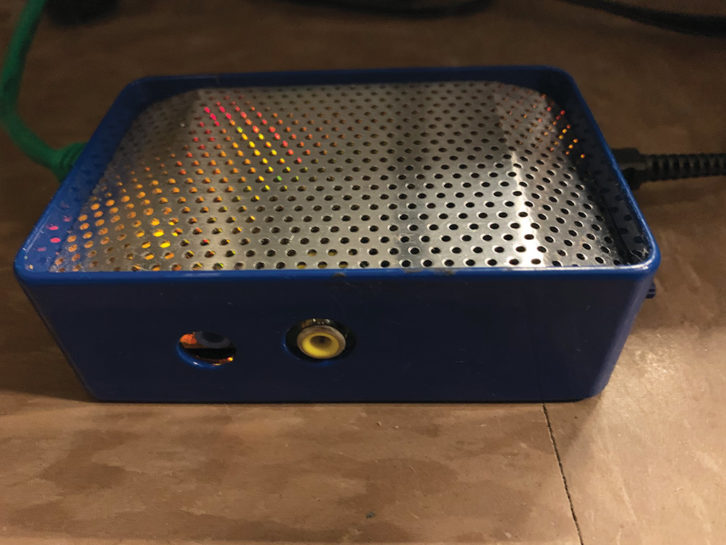
One of the first real-world uses of the Pi in our studios was as a network AirPrint server to allow wireless device printing. Prior to smartphones and tablets, when we received a new computer, I would have to install print drivers for any network printers, and we had several throughout the building. On top of that, IOS and Android phones and tablets needed a way to print email and other documents in the same way as their computer counterparts. See Fig. 1.
When the Raspberry Pi came along, I saw an opportunity to provide a cost-effective designated computer that would simply provide all of that on the network and relieve my print driver installing duties at the same time. I downloaded the latest Raspbian version that was available and transferred the image to the microSD card.
With power, HDMI, Ethernet, mouse and keyboard connected, I plugged the unit in and let it install itself. The install, as expected, prompted to set time zones, language defaults, etc.
The default user and password is “pi” and “raspberry,” respectively. It goes without saying that network security concerns should motivate you to change the default password. Using the Raspberry Configuration GUI will allow you to make those changes.
You can also enter a terminal, type sudo raspi-config and enter the password, and do it that way. You’ll want to change a number of things including the Raspberry Pi’s host name and also the ability to connect to the Pi via secure shell and VNC by enabling them in the interfacing options. You will probably want to set a static IP address as well.
For the print server, there were several packages that needed to be installed: samba, cups, cups-server, avahi-discover and (if you have an HP printer) hplip. Samba will allow windows network sharing. “CUPS” stands for “Common Unix Printing System” and provides the actual print server packages. Avahi-discover is what allows IOS and Android to find the print server and all of the printers that are available. Finally, hplip as the name implies, supports HP printers.
At the command prompt in an xterm window, you simply enter sudo apt-get install samba cups cups-server avahi-discover hplip and the APT package manager will add those packages to your base install.
Linux has “conf” files and in this case, there are two that may need to be adjusted. Samba’s configuration file is located at /etc/samba/smb.conf and the CUPS configuration file is located at /etc/cups/cupsd.conf. Depending on the way your network is configured, you may need to edit those files. The way to do that at the CLI is to use sudo nano /etc/samba/smb.conf or sudo nano /etc/cups/cupsd.conf. From there, you can scroll through the files to see if there is anything that may need to be changed to suit your network.
The last two things to do before adding printers to the server is to make sure that the “pi” user is an admin for CUPS with the command sudo usermod -a -G lpadmin pi and that the CUPS server is accessible from anywhere on the network with the command sudo cupsctl –remote-any. Lastly, reboot the pi with the sudo shutdown -r now command.
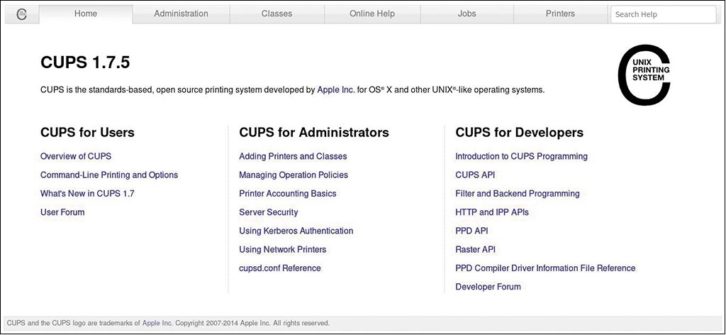
If you’ve made it this far, the sprint to the finish line is upon us. Now that we have done all of that, we can access the CUPS server locally via a web browser with your setup still connected to a display at http://127.0.0.1:631 or http://static-ip-address-you-gave-the-pi:631 from any device on the network. You’ll enter the site with the user “pi” and the password you supplied earlier. See Fig. 2. Once you click the administration tab, you can begin adding printers. Most network printers will be discovered automatically and you just need to choose them and the CUPS server will typically have a driver that will work for the given printer.
WE’VE GOT RESOURCES
If you find that a driver is not available for a particular printer, many manufacturers provide drivers in the form of a PPD file. A PPD file (Postscript Printer Description) provides the CUPS server with everything it needs to setup the printer. You can generally find them on the manufacturer’s support page for the printer in question.
Once the file is downloaded, when adding the printer, choose the printer you want to add and when it presents the drivers that are available, you can provide the PPD by browsing to your download folder. Continue this process until you have added all of the printers that you want to be served over your network.
As you are reading this, you might easily fall victim to the belief that this is beyond you. I can assure you that it will take longer to download the Raspbian operating system image and burn it to the microSD card than it will to get this print server up and running on your Raspberry Pi.
One real advantage is that if it doesn’t work out exactly as I have described, the community of people that have done this very thing and many other things with the Pi is truly massive. This is just one of the ways that a Pi has solved a problem we were having.
When you consider the power savings, the compact form factor and the ability to connect to it without having a monitor by using Secure Shell or VNC, it really makes it a perfect platform for network services like printing.
More to come next time. Email your comments or suggestions for this series to [email protected].
Todd Dixon is assistant engineer for Crawford Broadcasting Company in Birmingham, Ala.