Every station seems to have stuff like old cable spools and rag-tag office chairs lying around, often to be found at the transmitter site. Eventually, someone gets around to cleaning house and it’s Dumpster Time.
But that isn’t always the case.
Frank Hertel tells us that a while back, an engineering friend jokingly dropped off a 4-foot cable reel and remarked: “I thought you could use this. Besides, it wouldn’t fit in our dumpster.”
The spool sat for a while in Frank’s workshop. Eventually he decided to do something with it.
An old idea came back to mind: Put some swivel casters on one end to create a bottom and reshape the base so there would be room for feet. Then add a 48-inch round top made of ¾-inch plywood, creating a work surface that has strength and covers the bolt heads.
Frank used a Forstner drill bit to create pocket holes in the plywood to nest the protruding bolt heads on the spool. A set of Forstner bits costs about $10 at Harbor Freight.
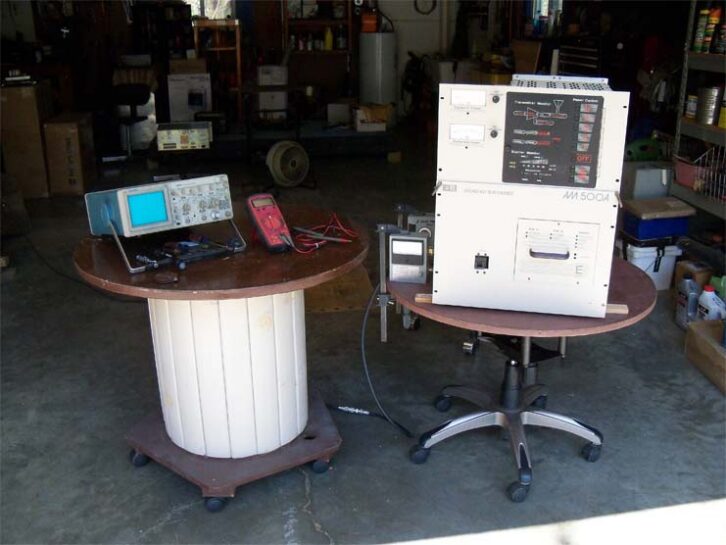
Then he covered the plywood top with ⅛-inch tempered Masonite, yielding a rugged, useful rollaround worktable. You can see it on the left in the first photo.
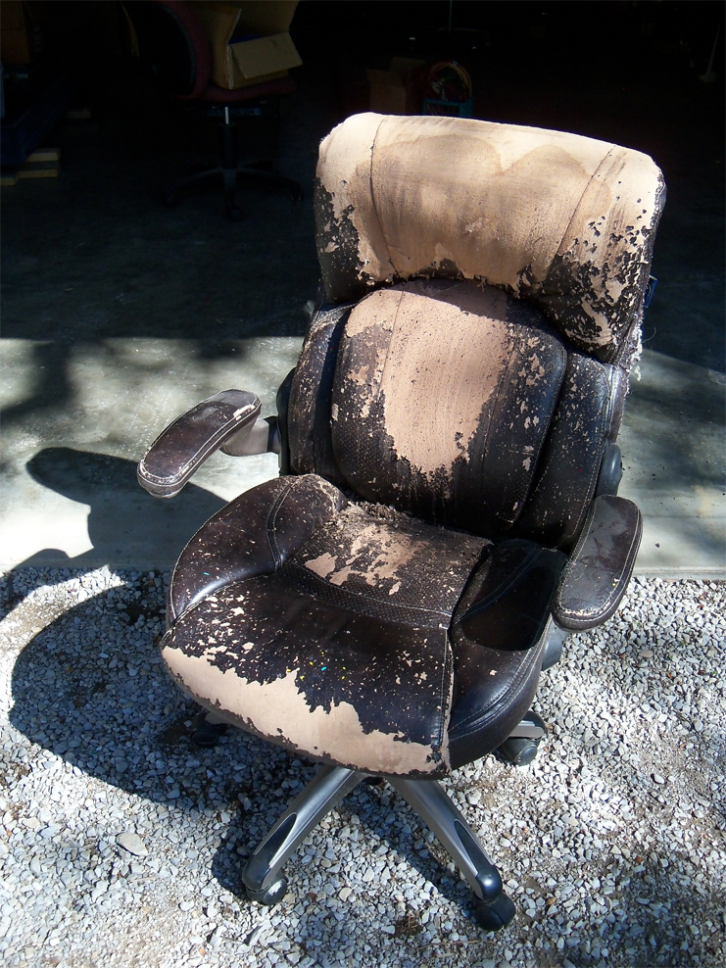
Another friend brought him a heavily used office chair. (Frank seems to attract such offers.) Not being sure if this was a joke, Frank accepted it in good humor. But the only salvageable things about it were the wheels and support post. The rest of the chair was destined for the dumpster.
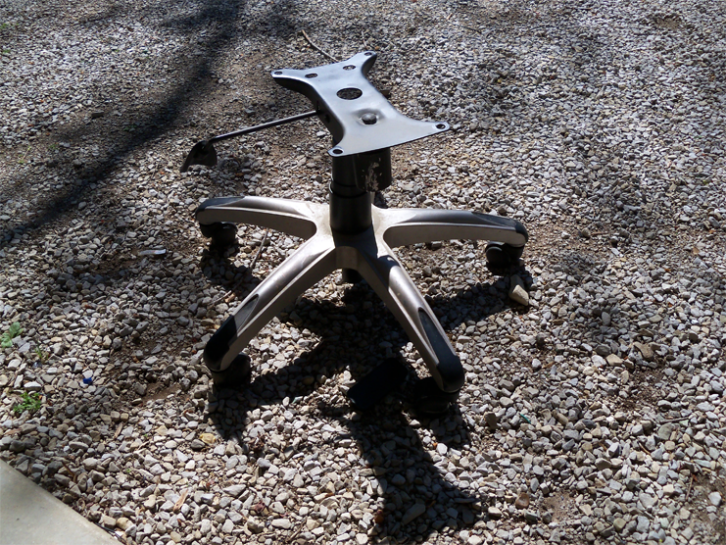
Having had good results converting the cable spool to a rolling worktable, he used the carriage and post assembly from the decrepit office chair to create a second rolling worktable that also has a rotating “carousel” surface thanks to the original chair’s base.
Construction was straightforward. He took a scrap piece of ¾-inch plywood and cut it into a 30-inch circle, then fastened it where the seat had been mounted. This would serve as a “belly” support plate for a finished top.
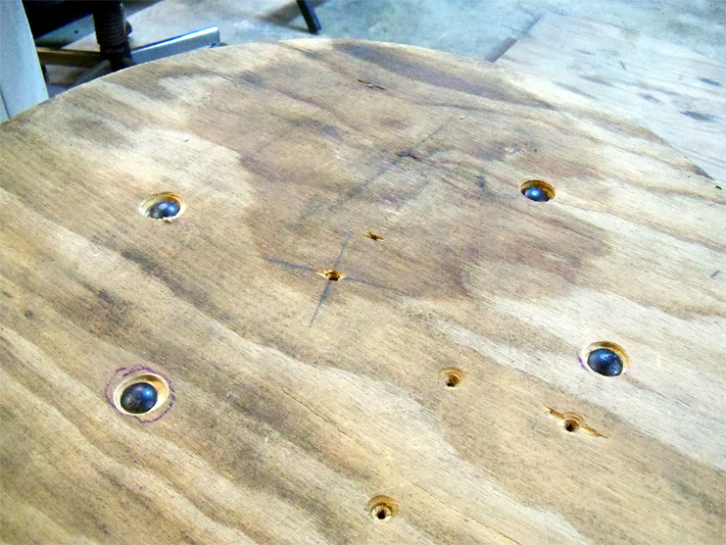
Four pieces of 1-inch conduit, each 7 inches long, were used to achieve the desired work height; they’re visible in Fig. 5. Four 10-inch x ⅜-inch carriage bolts secure the conduit.
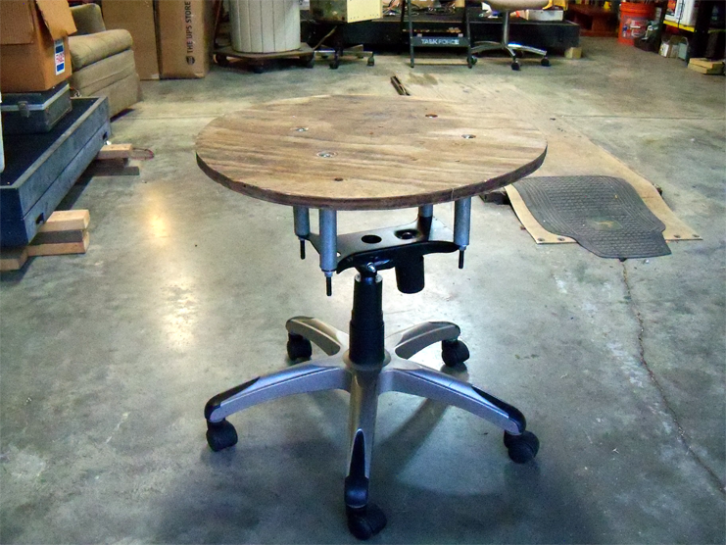
As in the first project, be sure to countersink the heads of the carriage bolts into the 30-inch circle of plywood.
Frank then sandwiched the 30-inch circle with a 36-inch circle of ¾-inch plywood, creating a smooth, flat work surface. He fastened this larger circle by shooting drywall screws through the smaller circle from the bottom. No screws are visible when the top circle is fastened this way.
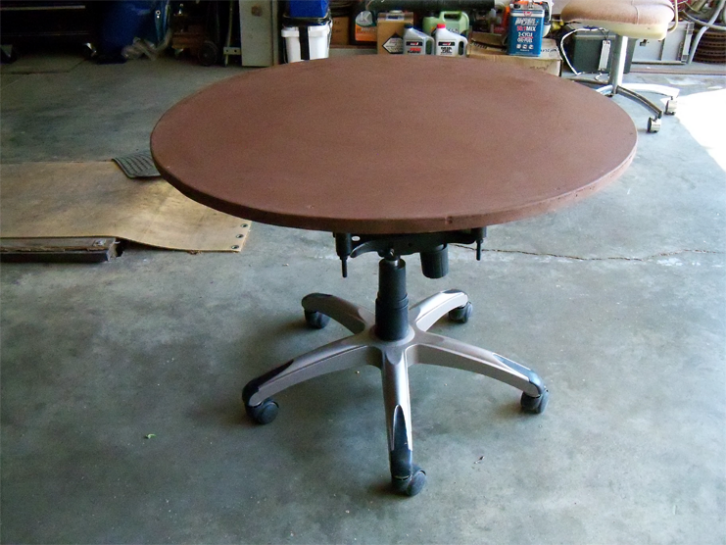
The final rolling worktable, with rotatable top, is pictured in the final photo. The 36-inch top has been covered with ⅛-inch tempered Masonite.
Frank notes that most office chairs have a comfort feature with the ability to rock forward and back. Be sure to lock this rocking feature so that your surface will not tip forward or backward, dumping your work on the floor!
You can defeat it by welding the rocking assembly in a level plane or bolting the rocking pivot in place.
Workbench submissions are encouraged and qualify for SBE recertification credit. Email [email protected].
[Read Another Workbench by John Bisset]