If you have a vintage AM radio, it’s sometimes difficult to receive local stations unless you live in a larger city. Those living on the fringe or in the country might not be able to tune in many stations. Wouldn’t you love to have your MP3 music play through your vintage radio?
Soon I intend to write a how to article adding MP3 capabilities to any radio. But many vintage radios already have a phono input to allow your radio to play music from your turntable (Fig. 1). Some older radios may have a 1/4-inch phono input. This article will help you with either type; just substitute a male 1/4-inch phono plug where I mention and illustrate a male RCA phono plug.

If your radio already has a phono input, can you just attach your MP3 player to it via a cable? Yes and no.
If you have a male phono or 1/4-inch connector on one end of the cable and a male 3.5 mm (1/8-inch mini) headphone connector on the other, you can physically plug it into the female input on the radio … however, it won’t work. If you get any sound at all, it will be very low because on an impedance mismatch. With a minor bit of surgical doctoring (cutting the cable) and two minor implants (resistors), you will have a cable that connects both instruments and the sound quality will be as good as the radio’s speaker can reproduce, all for almost no money.
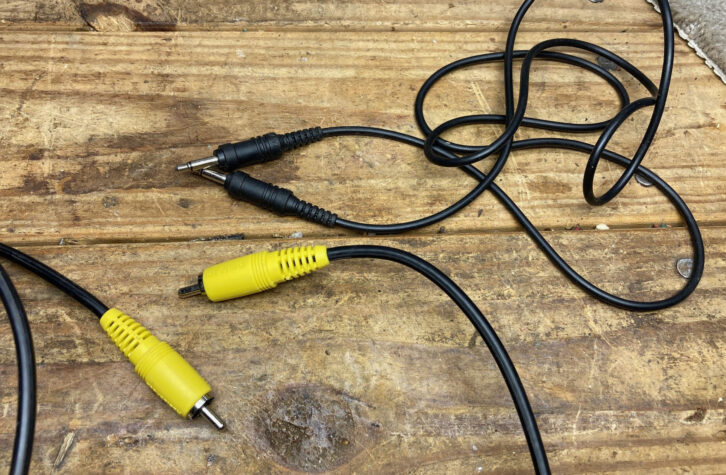
Not having a cable with a male-to-male RCA phono on each end and male-to-male 3.5 mm headphone connector on both ends of the other, I decided to create my own from two cables: an RCA-to-RCA and a 3.5 mm headphone-to-3.5 mm headphone. Upon completion, I would have two cables that did exactly what I needed them to do (Figs. 2 and 3).

The next step is the hardest: You must cut your cable and strip it to reveal the wires. As I mentioned, I had two cables and I cut each one exactly in half. It doesn’t matter where you cut it; I thought that the middle was easier. Be careful when you strip the wire because the center strands (within the white core) that connects to the tip of the male plug are quite fine. The wires under the black shielding are also quite fine so be careful here too (Fig. 4).

Now that you’ve cut and stripped both wires on both ends, you are ready to connect the resistors (Fig. 5). These resistors restrict the flow of the signal to allow you to hear the sounds from your MP3 player.

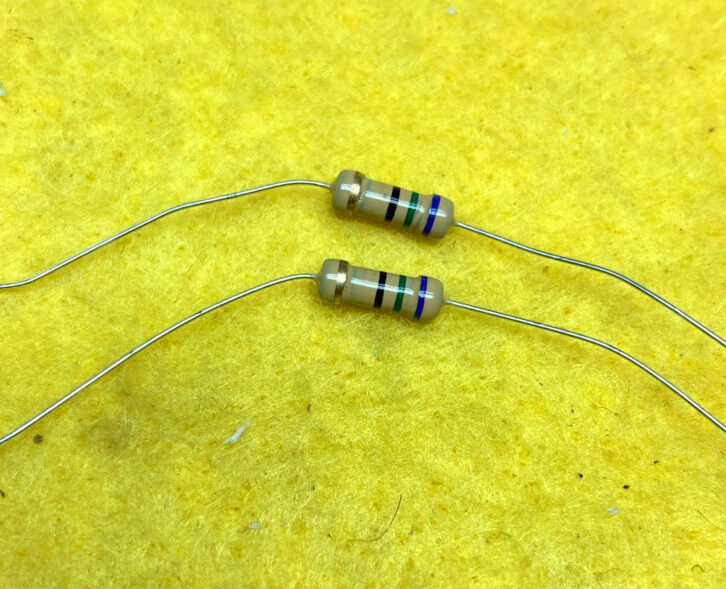
The choice of the ohm rating of the resistors isn’t critical. However, the lower the ohm rating, the louder your signal from the MP3 player will be. This means you won’t have to crank the volume too much to hear the signal. I chose two 75-ohm 1/2-watt resistors (Fig. 6).
To keep everything neater, I slid heat shrink tubing over the cable to protect the soldered connections. Take each end of the resistor and wrap the copper wire around it and remove the excess resistor lead. Once both ends are connected (shield to shield and tip wire to tip wire), solder the wires to the resistor leads. Slide the heat shrink tubing over the soldered lead and shrink the tubing (Fig. 7).

Once you have one side soldered, connect the other side, and shrink the tubing in place. It’s not very pretty, but functional (Fig. 8).

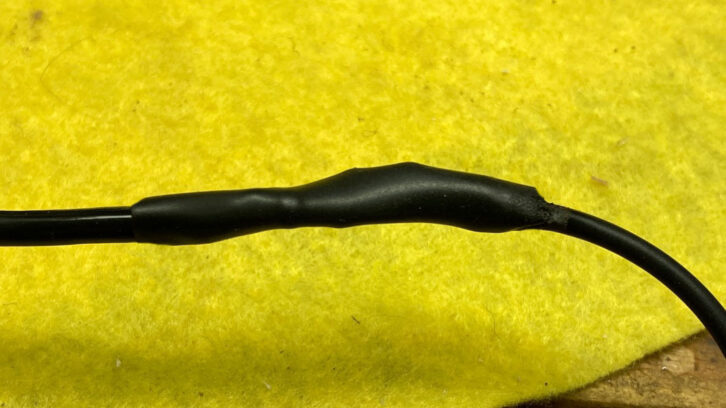
Some people might stop here. Although colorful, there’s still too much at stake not to cover the resistors entirely. Get a larger piece of heat shrink tubing and cover the entire resistor splice. It will still look slightly Frankenstein, but you now have a cable that will last for years (Fig. 9).
Now you have a cable (in my case two) that will connect an MP3 player and a radio with a phono input. Turn the MP3 player on, wait for the radio to warm up, and “listen to the music!”
Reach the author at [email protected].
Speaking of male 3.5mm headphone plugs, there are three types of “tips” to be aware of:
TS or Tip Sleeve (aka “mono mini”) plugs have a tip for the audio signal and a sleeve for the ground. There are only two wires to deal with in this type of monaural connection. This is the type I used because my vintage radio doesn’t have a stereo speaker. This set-up needs two resistors.
TRS or Tip, Ring, Sleeve (aka “stereo mini”) is the most common type of 3.5 mm connection. The tip of a TRS plug is for the left-channel signal. The ring is for the right channel. And the sleeve is for the ground wire. This will give you a stereo signal, but you’ll need three resistors because of the extra channel.
TRRS or Tip, Ring, Ring, Sleeve (aka “stereo mini with microphone”) connections are used in headsets or earbuds that include an inline controller and a built-in mic. The tip is for the left channel, and the first ring is for the right channel. The second ring is for the ground, and the sleeve is for a microphone channel. This is not necessary for our conversion purposes and is too expensive.


