Newman-Kees principal consultant Frank Hertel has been back at the drawing board. This time, he has developed a damped microphone desk stand.
It’s a 15-minute project that costs about $35 and yields a pretty snazzy-looking unique stand.
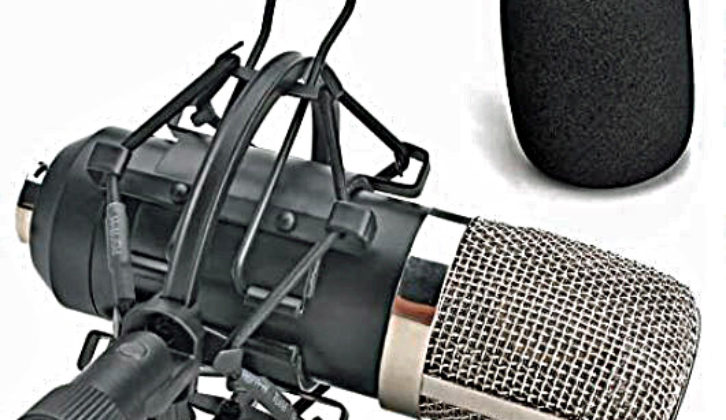
If you chose to add the Zramo Large Condenser Microphone, it will add another $15 or so to the project (and you get a shock mount and pop filtering to boot). Total out-of-pocket is about $49.
Before we begin, Frank adds a word about the Zramo mic. That word is “excellent.” He says you will be awed by the microphone’s performance and quality of build, despite its low cost.
The mic is made in China and is unlabeled for rebranding. It comes with the shock mount and pop filter, necessary for close speaking.
Keep in mind that this is a phantom-powered microphone, and since it is a cardioid mic, you will need to add a marking to identify the front or speaker side. Frank used a piece of gold decretive auto trim tape for that purpose.
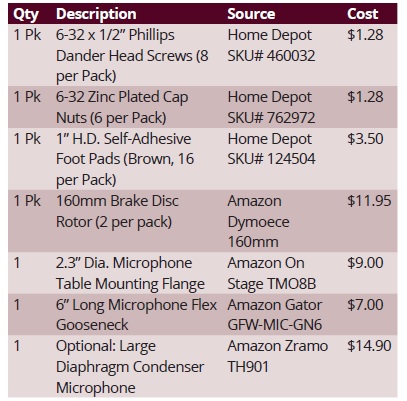
The parts required are shown on the accompanying list.
If your shop is like Frank’s, the cost of construction will be even lower. Frank’s project cost only $21 because he had most of the parts sitting on the shelf from other projects. Even if you need to purchase all of the parts, the $49 will yield you a very well damped desk stand and useful condenser microphone.
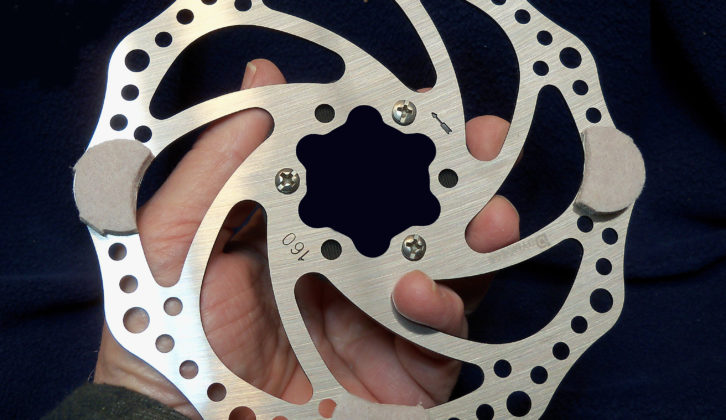
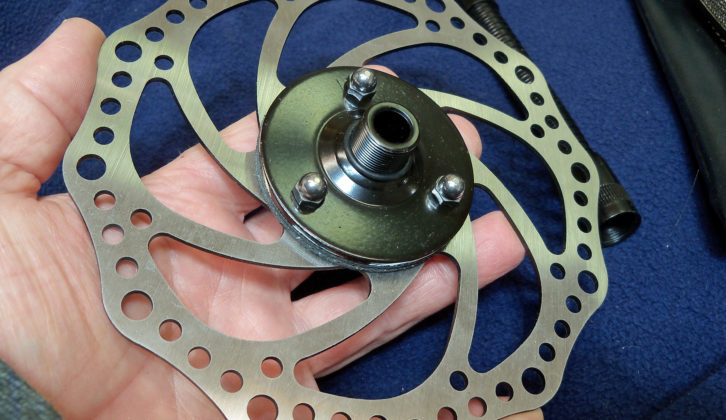
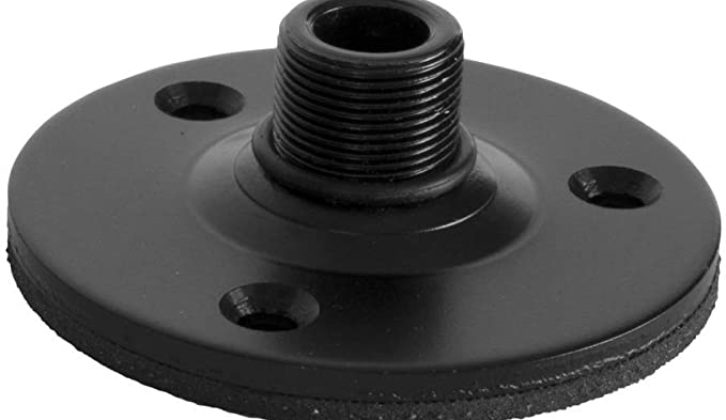
The desk stand was something Frank decided to fabricate for use with the mic. since he had most of the parts on hand. One lucky aspect of the project is that the holes in the microphone flange matched the dimension spacing of the holes in the Dymoece Brake Disc. So all he needed was a screwdriver to bolt the two pieces together, and a pair of scissors to trim the “felt feet” to fit the contour of the brake disc. Frank also used a black “paint pen” to color the felt feet where they were visible through the top holes of the brake disc.
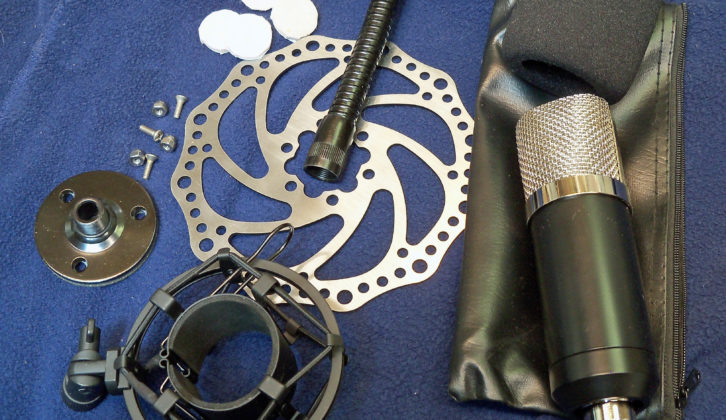
Click on the photo below to toggle through the parts needed for the mic stand.

[Read Another Workbench by John Bisset]
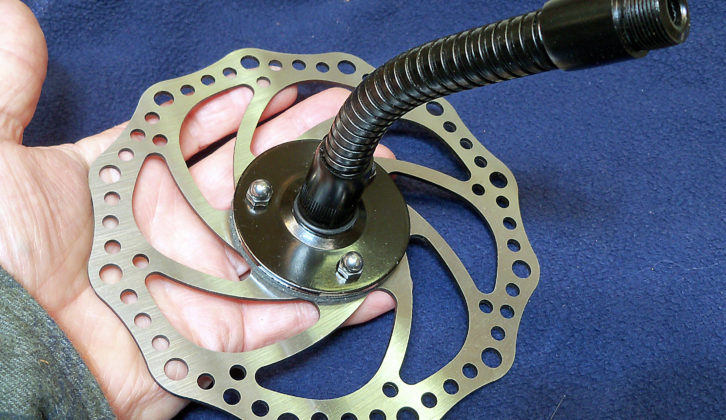
Frank adds that the rumble feed-through from the countertop and through the base of the fabricated desk stand is minimal. It slides easily and makes little noise in the process.
It is an easy project that happened to not require drilling or cutting; everything automatically fit. The photos above show the construction. If you choose the Zramo mic, remember that it needs phantom power.
Let me know how your project turns out. Send high-resolution pictures and comments to [email protected]. Much thanks to Frank Hertel for a fun project.
Sent us those ideas! Workbench tips qualify for SBE recertification credit and help your fellow readers.